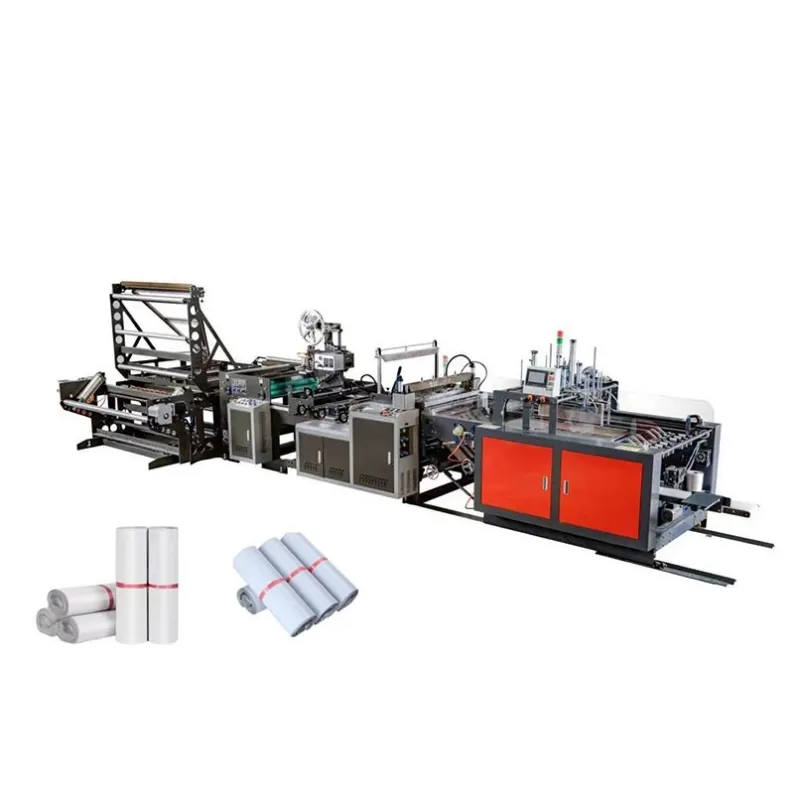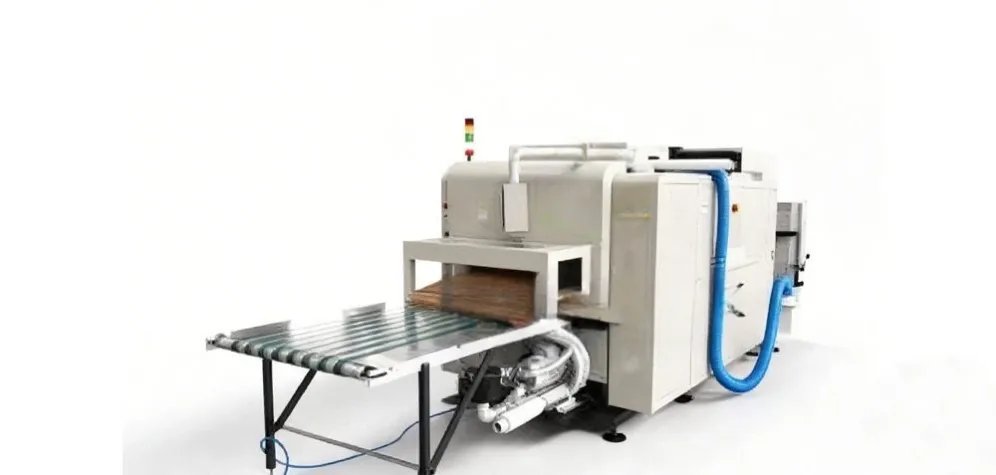
Paper Pressed Bubble Mailer Machine: Materials, Forming Process and Quality Checks
A pressed bubble mailer machine turns kraft paper into padded envelopes with an embossed cushion. This guide covers the materials, the forming process and the quality checks to run before you buy.
A paper pressed bubble mailer machine turns kraft paper into padded shipping envelopes with an embossed paper cushioning layer. The machine is only half of the decision. The paper, the adhesive and the way the layers are formed decide whether the finished mailers protect the product, survive the courier network without cracking, loose seams or crushed cushioning. This guide explains the materials, the forming process and the quality checks to run before you buy.
What a pressed bubble mailer is
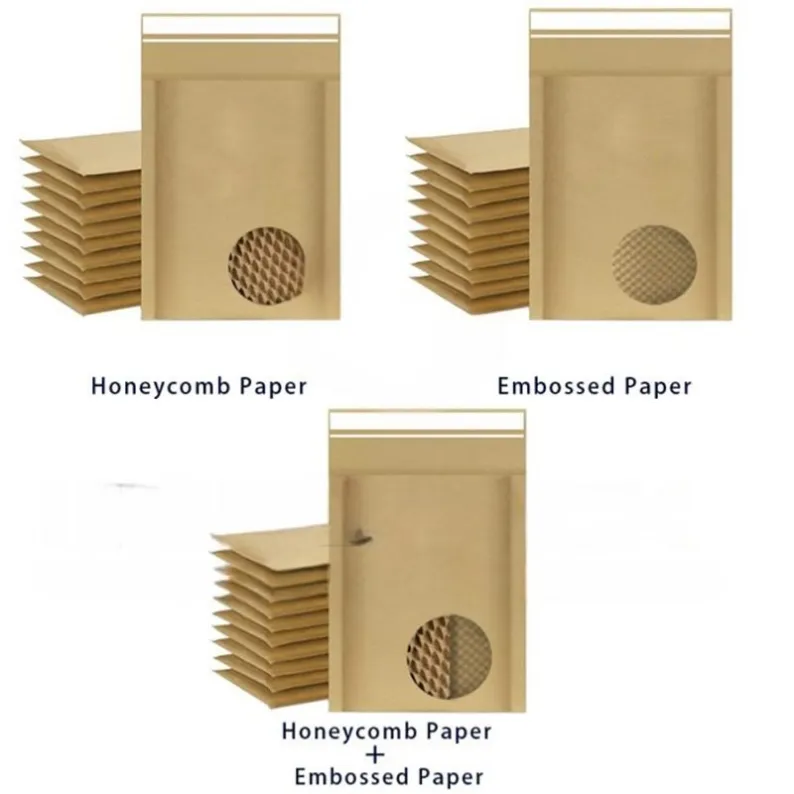
A pressed bubble mailer is a paper mailer whose cushioning comes from paper, not plastic. The construction combines an outer layer of kraft paper with an embossed paper cushioning layer: the cushioning paper is pressed so that it carries a raised, bubble-like texture, and the layers are bonded together to form a padded envelope. With no plastic bubble film, the mailer fits the paper recycling stream more easily, but that depends on the coatings and adhesives used and on local collection requirements — confirm the recyclability of your exact construction with your supplier.
The layer arrangement matters. Some constructions put the embossed layer inside, against the product; others use it as a middle layer. Confirm the layer arrangement with your supplier before ordering materials, because the arrangement changes how the mailer forms, how it folds and how it bonds. Treat the material specification and the machine configuration as one decision, not two.
Choosing the paper
Paper selection should consider four things together: grammage, roll width, moisture condition and strength. Grammage sets the stiffness and the protection of the outer layer; roll width must match the bag size you want to make; moisture condition affects how the paper forms and bonds; and strength decides whether the mailer survives handling without splitting.
A heavier grade is not automatically the best choice. Heavier paper can be harder to form: it may crack at the fold or at the embossing, and it may resist the bonding that holds the mailer together. The paper must form without excessive cracking and remain suitable for folding and bonding, so the right grade is the one that forms cleanly at your target speed and holds its shape after the mailer is cut and sealed. Lighter paper forms more easily but may not protect your product, so the choice is a balance between formability and protection.
Test your intended paper and adhesive together. Paper and adhesive interact: an adhesive that bonds one kraft grade well may not bond another, and a coating on the paper can change the result entirely. Run the combination you intend to use in production, on the machine you intend to buy, rather than testing the paper and the adhesive separately. If you change either one later, test the new combination again first.
How the forming process works
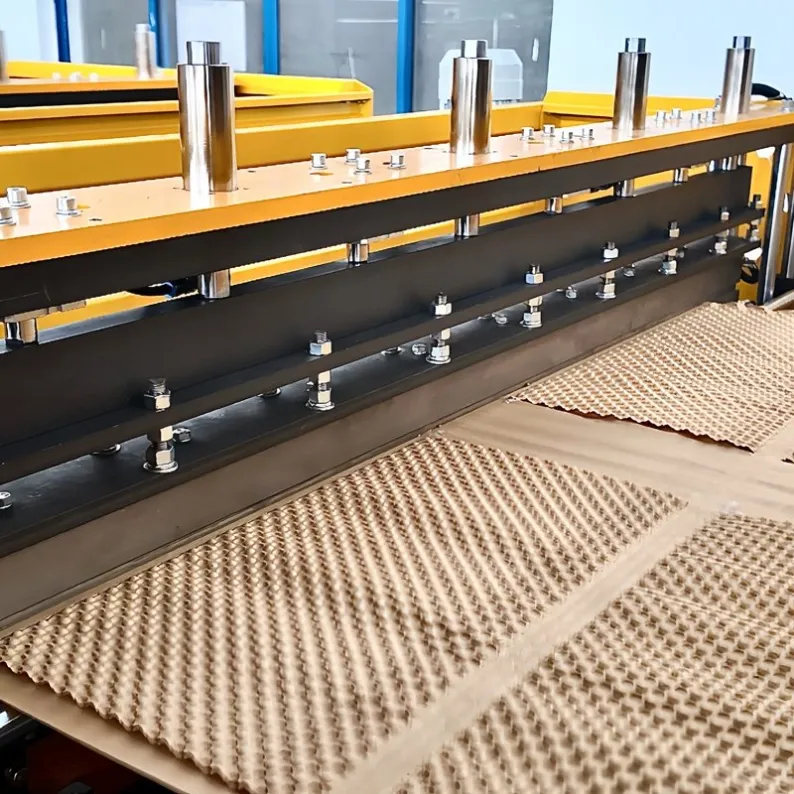
On a configured production line, paper rolls are unwound and guided through the machine. The cushioning paper passes through a pressing section that creates the raised texture, and adhesive joins the specified layers. The web is then folded, bonded and cut into individual mailers. Closure strips and other features depend on the equipment configuration, so confirm which features are included and which are optional.
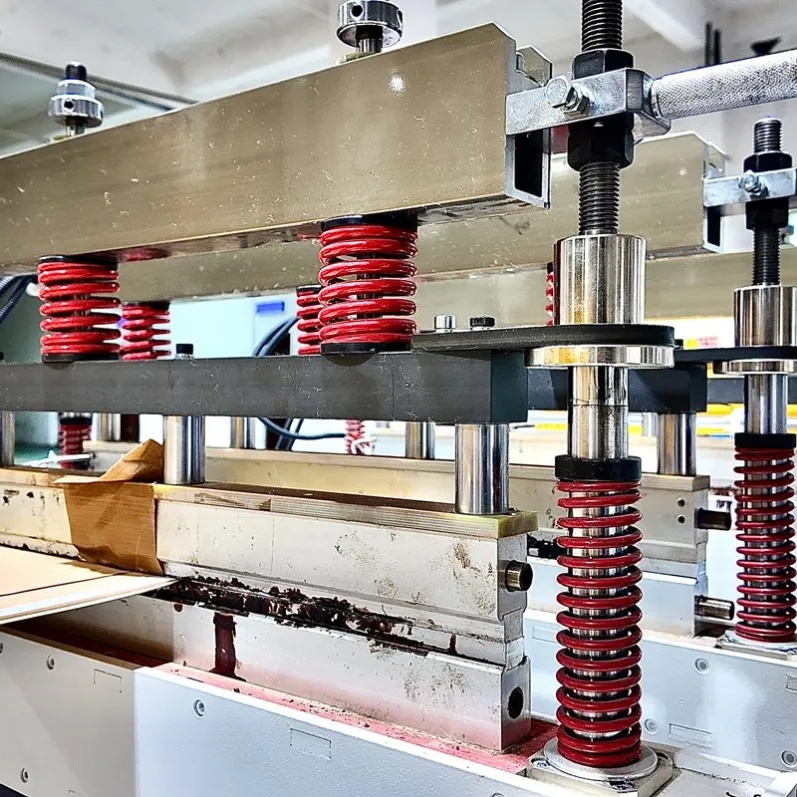
Setup is where the quality of the run is decided. During setup, check web alignment, forming pressure and adhesive application. Web alignment keeps the layers and the fold in the right place; forming pressure sets the depth of the embossing and the cushioning it gives; adhesive application decides whether the seams hold. Too little adhesive and the layers separate; too much and it squeezes out and contaminates the mailer. Record the settings for each approved paper and bag size, so repeat orders run the same way as the first.
The quality checks that matter
Check samples from the beginning, middle and end of a trial. Checking only the first bags misses problems that appear once the machine is warm and running at speed. Five checks cover the mailer:
- Dimensions: measure width, length, flap and usable internal space, and compare them with the specification for the bag. Too small and the product will not fit; too large and it wastes paper and lets the product move around inside.
- Embossing: look for uneven texture, cracks or crushed areas. Uneven texture means the cushioning will not protect evenly; cracks at the fold or in the embossed area mean the paper is too heavy or too dry for the forming pressure; crushed areas mean the pressure is too high.
- Bonding: inspect seams for gaps, loose layers and adhesive contamination. A gap in a seam lets the product escape or moisture in. Loose layers mean the adhesive did not bond, and adhesive on the outside of the mailer can stick bags together in the box.
- Closure: verify alignment and operation where a closure is fitted. It must sit in the right place, seal firmly, and open cleanly when the recipient tears it.
- Output: record acceptable bags, rejects and stops over the full run. The number of good bags per hour, the number of rejects and the number of stops tell you more about the machine than any single sample does, and they give you a baseline for the next trial.
Appearance alone cannot confirm shipping protection. A mailer can look perfect and still fail in the courier network, so test filled mailers against the intended product and the distribution conditions they will face. Fill mailers with the actual product, or a test item of the same weight and fragility, send them through the same handling they will get in real use — drops, stacking and vibration — then open them and check both. If the mailer is damaged or the product is, change the paper, the embossing or the adhesive, and test again.
Plan a material trial before you buy
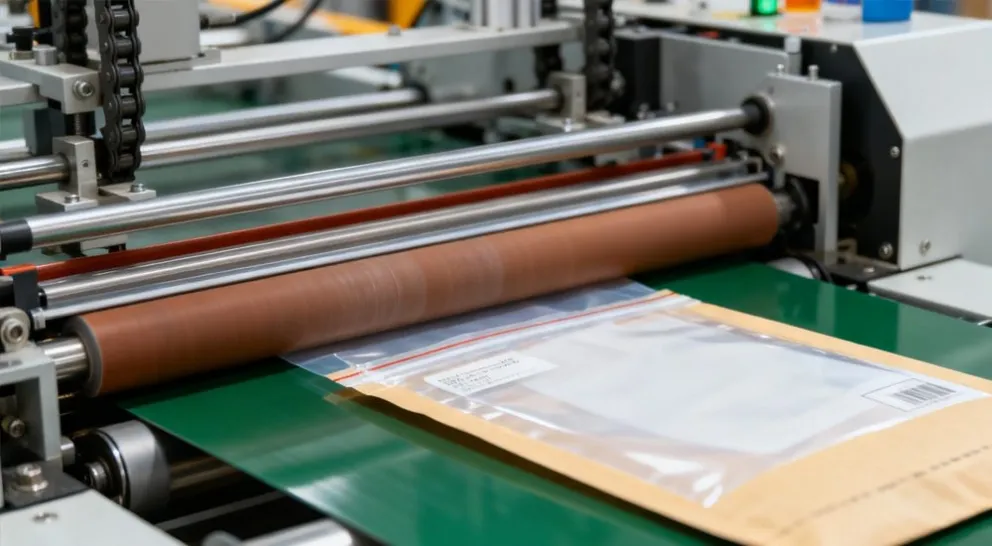
Before selecting a paper pressed bubble mailer machine, prepare your bag dimensions, paper specifications and target output. These three define the machine you need: the bag dimensions set the roll width and forming size, the paper specifications set the pressing and bonding settings, and the target output sets the speed and automation that make sense.
Bring your own materials to the trial. Send the supplier your sample or drawing, and ask for a trial run with your paper, your adhesive and your bag size, at the speed you plan to run in production. Record the settings, the reject rate and the number of stops, and keep sample bags from the beginning, middle and end of the run as your reference for the first production run.
The bottom line
A pressed bubble mailer machine is a good choice when you want a paper mailer with built-in cushioning and no plastic bubble film. The machine will only perform as well as the materials and the setup allow, so choose the paper for formability as well as protection, test the paper and adhesive together, and judge the result with a full trial and with filled mailers tested against real distribution conditions. A supplier who will run your materials at your target output and share the results is the supplier to buy from.
If you are planning a pressed bubble mailer line, HJ Machinery can help. Browse our paper mailer and envelope machines or contact us with your bag dimensions, paper specifications and target output, and we will discuss a suitable configuration and material trial.